
I have never been a “crafter.” I find that all of my attempts are usually Pinterest fails. To me, it’s just frustrating, timely, and disappointing. However, in time, I found my calling. Sign making. My boyfriend is a pretty skilled woodworker, and I was tired of paying ridiculous amounts of money for gifts when I could make something more personalized for less.
I bought a woodburner for around $10 and started writing on wood and creating personalized gifts such as coat racks for a new married couple, coasters, coordinates signs, etc. It took some time to become a decent writer, but totally doable.
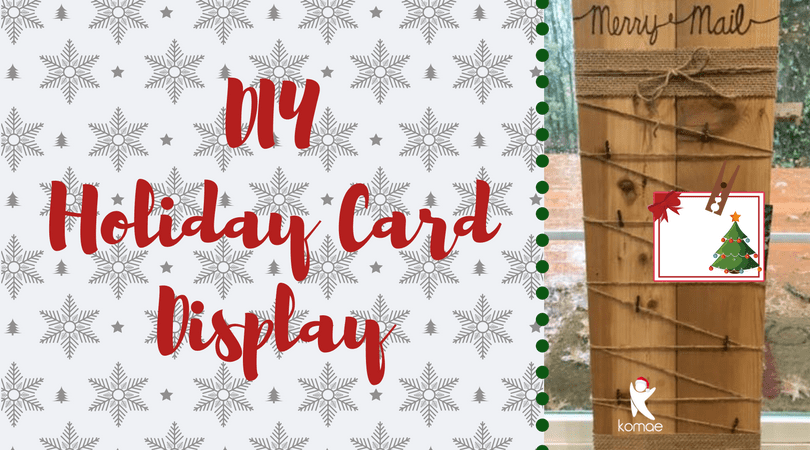
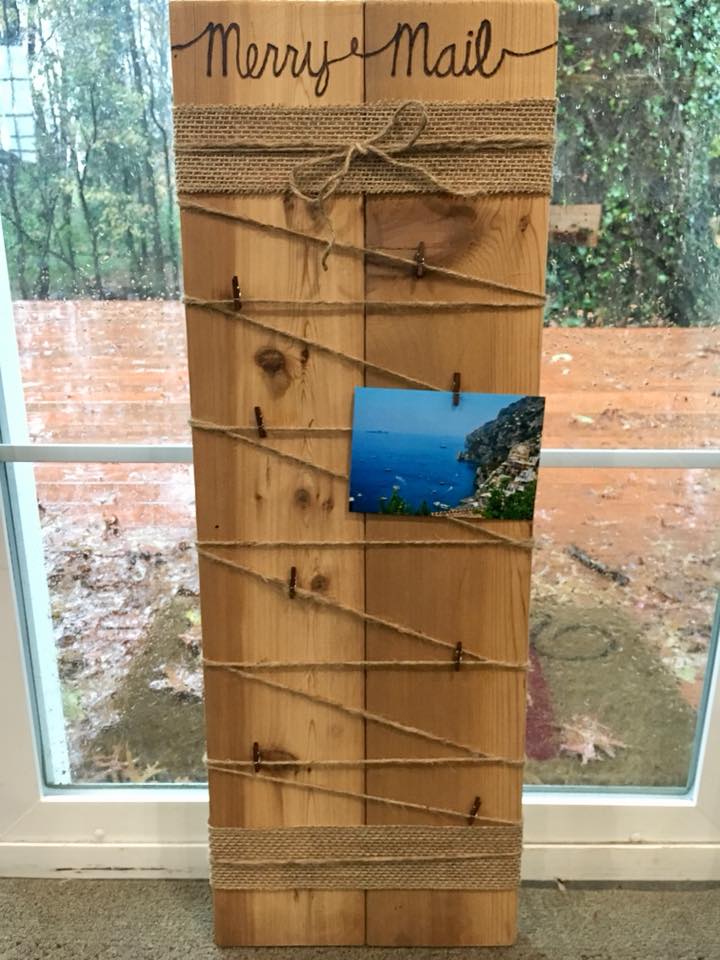
This year, I am making everyone’s Holiday gifts. My favorite has been my Merry Mail sign for people to display all of the Holiday cards they get. Follow my simple instructions below to create yours!
Step 1: Supplies
You will need your woodburner (you can paint the words, too), wood, twine, burlap roll, mini clothes pins, staple gun, and a pencil.
For the wood, I used Cedar because we had some laying around from previous projects. My boyfriend screwed together two boards to create one sign that is 22″x11′. The length, width, and type of wood is up to you. (Note that Cedar is not the best wood for woodburning. My favorite is Poplar.)
Step 2: Draw It Out
I write the words “Merry Mail” out in pencil first before I trace over with the woodburner. This way I can make sure my words are centered and level. You can also write things like “This Is Us” or “Our family” or whatever you would like if you choose to keep this sign out year-round.
Step 3: Woodburn
I do one letter at a time, going over and over each part until it’s the desired thickness. Go slow & push down into the wood gently. You can fill in mistakes by making the letters thicker. I also like to keep a wet paper towel nearby to wipe the buildup off the burner.
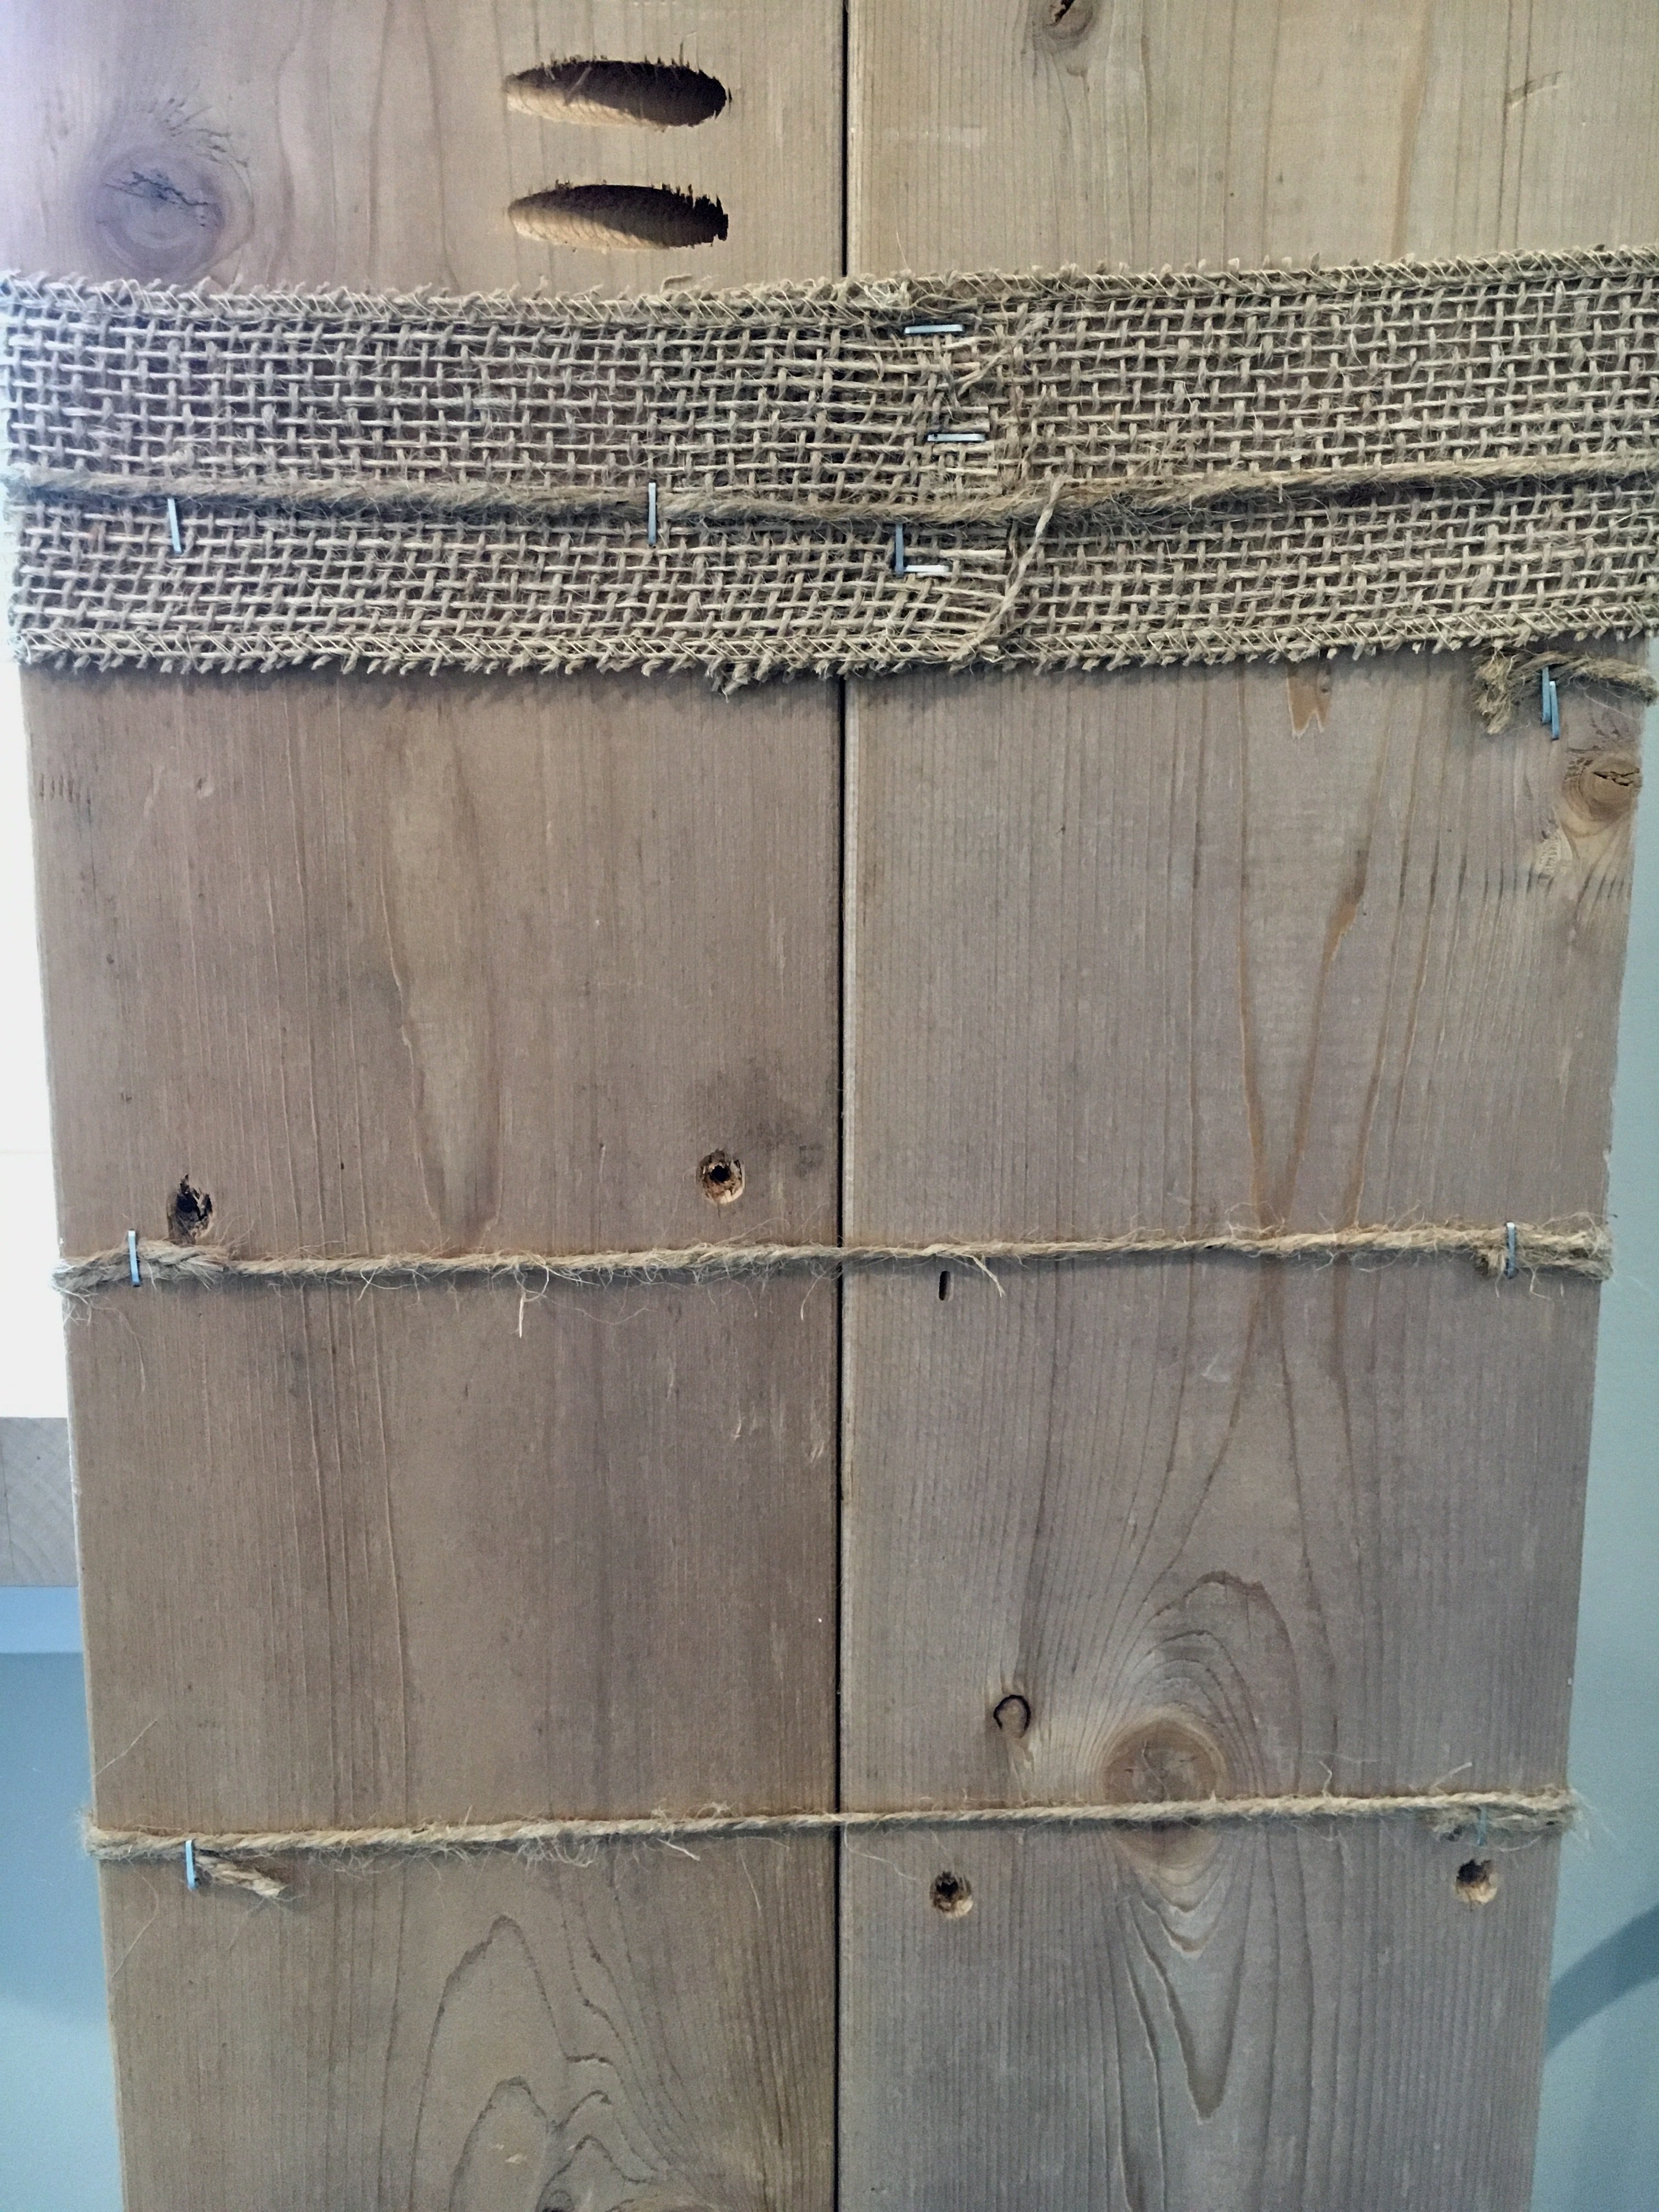
Step 4: Burlap
I chose to wrap one piece of burlap around the top and one piece around the bottom. I used the staple gun to connect the material in the back and also connect it to the wood to keep it from sliding. You can add as many pieces as you’d like, wherever you’d like.
Step 5: Twine
Start at the top left near the burlap. On the back, staple the end of the twine to the wood. Angle the twine down to the right side of the board. Wrap around the back and the front creating a straight line. Staple the twine to the back of the board again. You can choose to cut the twine here to save material and repeat the steps above. Or if you’re not worried about it, just keep wrapping all the way down. Staple, angle, wrap around for the straight line, staple. Repeat.
Finish
Hang your clothes pins where you feel necessary and start displaying all of your beautiful Holiday cards or family photos instantly. Share photos of your creations by commenting below!
Pin this blog

Error: No feed found.
Please go to the Instagram Feed settings page to create a feed.

0 Comments